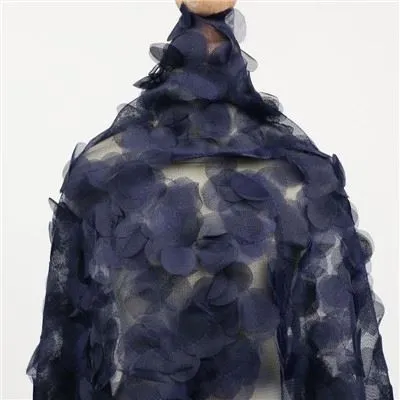
Ribbon three-dimensional embroidery mastering skills
Sep 10, 2021
Novices always encounter the following various problems in the process of embroidering ribbon embroidery: the embroidery thread is missing, the embroidered picture is not bright enough, the back is too much knotted, it is difficult to mount, the color fades when washing, the embroidery After coming out, there is a big gap between the samples on the illustration and so on. In order to help novices to master ribbon embroidery skills faster, the following mainly introduces some details that novices should pay attention to during the embroidery process.
1. First of all, you should know that the ribbon has two sides, the shiny side (front side) should face up when embroidering, so as to avoid the problem of not bright patterns.
2. In principle, one color thread should be embroidered at one time, this is mainly for
Avoid waste and save time. Novices frequently change the line will lead to insufficient line, and at the same time wasted a lot of time. This law is not completely applicable, and the actual embroidering process must be determined according to the actual situation of the pattern. Generally, the principle should be observed without affecting the effect of the drawing.
but.
3. When threading a wide ribbon, use small scissors to cut the front end of the ribbon into a long and narrow triangle. Use a lighter to burn the burrs. After passing through the needle hole, the needle is inserted from the front end of the drawn ribbon and straightened.
4. The back should not be knotted, just burn it with a lighter, so it is easy to mount.
5. Ribbon embroidery should follow the principle of first embroidering outside and then outside, first embroidering and then embroidering. Slowly put the picture in. As long as it does not affect the effect of the drawing, the font is usually embroidered at the end.
6. When encountering embroidered animals, embroider backwards. That is to say, the tail, wings, etc. must be embroidered first, and then the head shall be embroidered at the end.
7. A cotton thread has 6 strands, which means that the ribbon embroidery needle method of 2-strand embroidery and 3-strand embroidery in the picture refers to splitting a cotton thread into three parts and two parts, instead of splitting two or three threads. Putting the threads together for embroidery, if you make a mistake, the embroidery thread is definitely not enough. And it will be a lot different.
8. It should not be too tight or too loose when embroidering, too tight is not easy to mount, too loose will lead to waste. Generally for
To ensure the effect of the picture, the close-up view should be relatively loose, and the long-range view should be tighter.
9. Hot water must not be used to clean the ribbon embroidery. Many fabrics and ribbons are fixed-dyed and will inevitably fade at high temperatures. If there are local stains, you can use a neutral detergent to gently brush it off with a small toothbrush. When washing, unfold the ribbon embroidery in a container filled with water, and take it out to dry after the water-soluble thread disappears. Color printing products cannot be washed off. If there are no stains, it is not recommended to wash them.
10. When embroidering, novices must first master the basic stitching method, watch more instructional videos, see the stitching description diagram, or practice on the waste cloth before doing it. Mastering the correct embroidery method will not only make you do more with less, but also It can guarantee the success rate and drawing effect of the first embroidery, and lay a good foundation for the next embroidery of more complex and beautiful patterns.